Dec 6, 2024
I recently had to build a simple project simulating a certificate authority, CRL distribution point, web server and client host. The web server ran Apache with a simple HTML page in conjunction with some PHP code. The purpose of the web server was to verify some messages signed by user x509 certificates that were, in turn, signed by the CA. The web server needed to display the output from some OpenSSL verification checks after getting the user x509, message signature and message file.
The command I wanted to run and show output from was:
openssl verify -verbose -crl_check -CRLfile project.crl.pem -trusted CARootCert.cer user.cer
I needed to test some cases where the user certificate could be revoked or expired. In these cases, when the command is run in the terminal, it returns a multi-line output such as:
C = Country, ST = State, L = City, O = Organization, OU = Unit, CN = Common Name, emailAddress = email@email.com
error 23 at 0 depth lookup: certificate revoked
error uploads/user.cer: verification failed
I combined with the PHP code to execute and display the command output:
$cmd = openssl verify -verbose -crl_check -CRLfile project.crl.pem -trusted CARootCert.cer u.cer
$res = shell_exec($cmd);
echo nl2br(htmlspecialchars($res);
However, the output to the webpage was:
error uploads/user.cer: verification failed
Why is it only returning the last line of the output? In my debugging process I tried to run other multi-line commands to see if they print properly. Commands like ls -l print perfectly find using the same code.
This stumped me super hard, mainly because the only way to search for the solution to this problem was to know the answer already. It was also a bit tricky, as the fact that I was still able to echo the last line of output made it harder for me to reach the correct diagnosis.
It turns out that the problem was that the first two lines of this output are written to stderr and not stdout. The shell_exec command will only print out the stdout response. This output provided by OpenSSL is a little bit misleading as the stdout response starts with error. Due to my inexperience in bash, the thought of stdout vs stderr never crossed my mind.
To fix this, it is as simple as appending:
$res = shell_exec($cmd." 2>&1");
The snippet " 2>&1" is a shell construct that takes file descriptor 1, which is stdout and combines it with file descriptor 2, which is the stderr into one merged output using >&.
Finally, I’ve found the entire output. This displays the entire stderr along with stdout.
Jun 25, 2024
Verbose if else v.s. one-liner if else
This is a case that I believe to have seen actually impact runtimes somewhat consistently, so I’m interested to see if it was placebo or if this small change actually affects the runtime. The example goes as follows:
Case 1: Verbose
def ifelse(x):
	if x:
		return True
	else:
		return False
Case 2: One-liner
def ifelse(x):
	return True if x else False
We can see that given the same input x, we would get the same result in the return statement. In my experience, I believe that the one-liner implementation is faster.
Now to see what differs in the bytecode:
Case 1:
 2 LOAD_FAST                0 (x)
 4 POP_JUMP_IF_FALSE        1 (to 8)

 6 RETURN_CONST             1 (True)

 8 RETURN_CONST             2 (False)
Case 2:
 2 LOAD_FAST                0 (x)
 4 POP_JUMP_IF_FALSE        2 (to 10)
 6 LOAD_CONST               1 (True)
 8 RETURN_VALUE
10 LOAD_CONST               2 (False)
12 RETURN_VALUE
At a first glance, this doesn’t really look good for one-liner implementation. It’s two lines longer where it requires the virtual machine to load the Boolean values in the instruction LOAD_CONST and then returning the value instead of the combined instruction RETURN_CONST. Running timeit once again provided not very helpful results. There was no particular trend when testing the functions using both True and False as parameters.
In the process of looking for why this discrepancy occurs, I found the Github issue that originally proposed the creation of the RETURN_CONST instruction. Surprisingly this issue was opened fairly recently, February 7th, 2023, only about a year ago. The original author proposed a change to combine instances of LOAD_CONST and RETURN_VALUE as they appeared in pairs very often. Their notes say that adding the combined instruction created a small performance boost.
What really surprised me here was how little discussion was needed to push this change. While the author did provide a lot of evidence towards the performance gain and the frequency of occurrences, it is still interesting that there was no debate at all in adding this feature.
Which lead me to this issue. It was opened a mere month after the addition of RETURN_CONST and brings up some points as to why RETURN_CONST should be removed. This issue was not raised in the original CPython repo but in a branched project called faster-cpython which was started as a Microsoft backed project to make Python faster. I’m getting off topic now but there are some interesting points raised in that thread that could belong in the original issue. A change like introducing a new instruction seems like a big enough change that it warrants a larger discussion, but perhaps allowing more or less non-intrusive changes like this makes the CPython project more attractive for developers to contribute their time to.
Wow, that went way off topic. Based off of the raw instruction count and the existence of the RETURN_CONST instruction, these elements imply that the verbose method should be the faster of the two.
It might be worth looking into why the one-liner doesn’t combine the LOAD_CONST and RETURN_VALUE instructions into one RETURN_CONST.
Footnote: I found an even earlier mailing list entry discussing the idea of introducing RETURN_CONST back from 2017. They propose the exact same idea but they say that they didn’t have enough bandwidth to drive the idea at the time.
Jun 22, 2024
So I’ve been doing a lot of DSA questions
In preparation for coding interviews I’ve been studying a lot of data structures and algorithms problems. The main goal when solving these problems is to work out a solution that has low time and space complexity. However when you submit questions on a online judge such as Leetcode, you tend to notice that some minor changes in your code, such as the order or way you write out if statements, can impact your runtime through the judge. Most of the time, this is not useful information. The judge will give you different runtimes for the exact same code, that’s just how timing code works, some runs will be faster than others. But deep down I always wondered, if you broke it down to the bytecode, would there be a noticeable difference between some lines of code that don’t seem very different at a high level?
Combo inequality vs two inequalities combined with an and operator
x < y < z v.s. x < y and y < z
At a high level, these are the same. But when we use Godbolt to dive deeper and look at the bytecode, we will see that there are some differences.
For the first case, x < y < z, we can represent it with the following code snippet:
def compare(target, lower, upper):
    if lower < target < upper:
        return True
The second case, x < y and y < x$`:
def compare(target, lower, upper):
    if lower < target and target < upper:
        return True
Now we look at the bytecode for the first case:
 2 LOAD_FAST                1 (lower)
 4 LOAD_FAST                0 (target)
 6 SWAP                     2
 8 COPY                     2
10 COMPARE_OP               2 (<)
14 POP_JUMP_IF_FALSE        5 (to 26)
16 LOAD_FAST                2 (upper)
18 COMPARE_OP               2 (<)
22 POP_JUMP_IF_FALSE        3 (to 30)

24 RETURN_CONST             1 (True)

26 POP_TOP
28 RETURN_CONST             0 (None)
30 RETURN_CONST             0 (None)
And the bytecode for the second case:
 2 LOAD_FAST                1 (lower)
 4 LOAD_FAST                0 (target)
 6 COMPARE_OP               2 (<)
10 POP_JUMP_IF_FALSE        7 (to 26)
12 LOAD_FAST                0 (target)
14 LOAD_FAST                2 (upper)
16 COMPARE_OP               2 (<)
20 POP_JUMP_IF_FALSE        1 (to 24)

22 RETURN_CONST             1 (True)

24 RETURN_CONST             0 (None)
26 RETURN_CONST             0 (None)
The first thing that jumps out are the extra SWAP and COPY instructions in the first case. To compensate for not having two occurrences of the target parameter, the code will make a copy of target to use in the 18 COMPARE_OP instruction.
Because of the extra SWAP and COPY instructions, the first COMPARE_OP and POP_JUMP_IF_FALSE instructions occur earlier in the second case than the first case.
In essence, the AND operator doesn’t make any extra work for the virtual machine, but omitting a second target in the python code does as the virtual machine needs to make a copy of it for the comparison operation.
The actual runtime trade off is negligible when running timeit, it’s random which one of the two code samples executes faster. For conceptual simplicity, I’ll stick to writing these types of statements with the combo operator, but it’s interesting to know that it makes just a tiny bit more work for the virtual machine.
Jun 16, 2024
Hiatus
It’s been a while since my last blog entry, but I had a draft of this post kicking around from October of 2021 talking about the stuff I did with the homelab (past tense, I’ll get to that). I can’t talk about the super technical details or challenges I faced since I don’t exactly remember what happened, but I will try my best.
Great things
I had great aspirations for the homelab when I first got it running. The big goal I wanted to work towards was setting up Jellyfin (or if I got lazy, Plex) on the homelab so I could watch my collection of movies from any device within the house.
I did not get that far.
But I did manage to do some cool things with the server while it was still alive.
Samba
I created a network share using Samba that my dad and I used to host some temp files that we wanted to share with each other and other things that we wanted to have backups of. Getting Samba configured was a bit of a challenge as sometimes the file share wouldn’t read properly on Windows devices but the issues mainly stemmed from some improper config files.
Lancache
The year was 2021, and my download speed was about 40 MB on a good day. My PC only had about 1 TB of storage (only haha) so I had to offload games sometimes to make space for new ones. It’s a crime that games can be 100 GB. Regardless, there was a solution for my problem in the form of Lancache. Lancache, as it’s name suggests, is usually used for LAN parties where many participants might need to download the same game, but you don’t want 10 people trying to download the same 50 GB game. So the solution is to download the game onto a single server and serve it up locally to anyone who wants to play. I decided to use this software to cache my games locally so I wouldn’t need to re-download Grand Theft Auto 5 for the hundredth time.
The year is now 2024 and my download speed is still 40 MB on a good day.
Minecraft server w/ Ngrok
My friends and I play Minecraft every once in a while and someone always needed to host it locally or purchase some hosting plan for the duration of our gameplay. I decided that with the new homelab, I could try hosting on that. To simplify the port forwarding process I used Ngrok to open a port in a relatively safe way.
Now at this point I hadn’t considered if the hardware in the server would be able to support a Minecraft server. The RAM and CPU were old, but still fairly powerful so I assumed there would be no problems.
I logged in, there was a bit of lag but I assumed that was because my local network was not great. My friend logged in and he said it was playable at least. Finally a third friend logged in and the whole thing metaphorically caught fire and crashed.
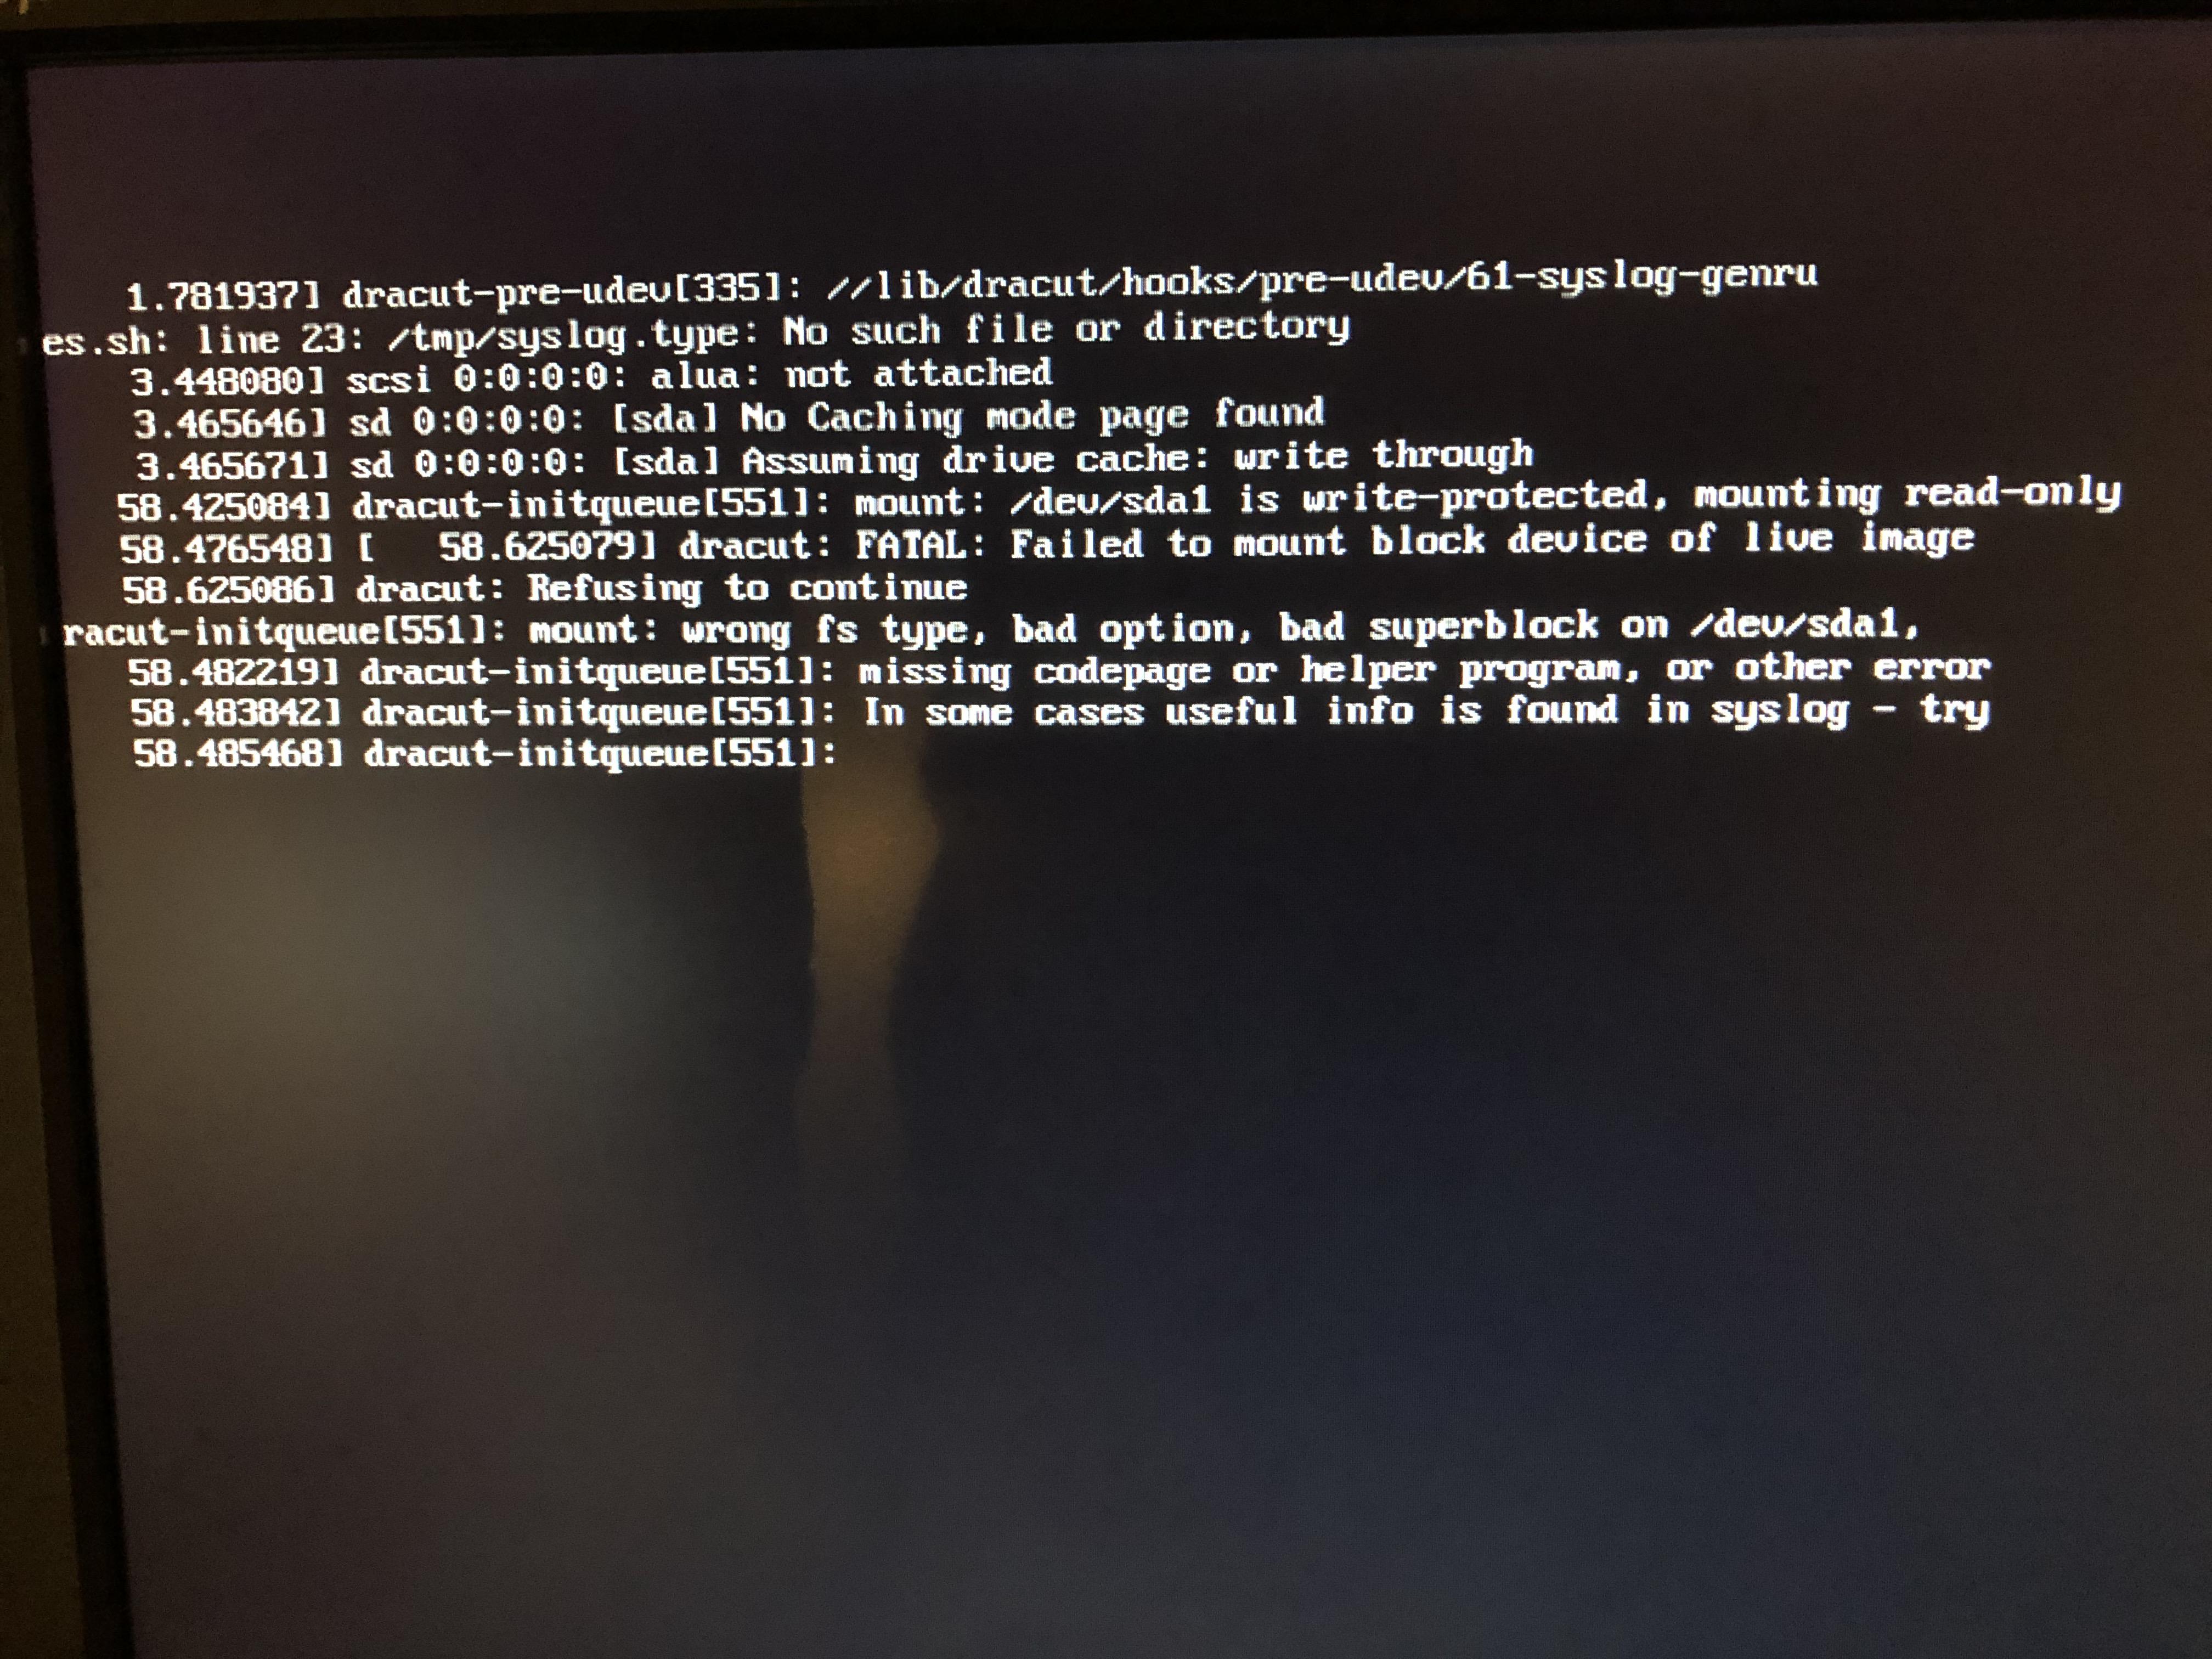
Is it dead?
Yes. If dead means unusable then yes. I’m not sure what failed, whether it was the shoddy RAID controller that took me dozens of tries to get a single RAID 0 config to work. Or if it was the old dying RAM and CPU. Or something else entirely. But the whole system was locked in read-only mode. Numerous attempts at trying to restore the system did not work. Luckily there was nothing on that server that didn’t have a backup so I finally pulled the plug and started a fresh install on the server once again.
Epilogue
The server has been unplugged for a while, turned off while I went back to in-person university after the COVID lockdowns ended. I think I’m gonna start it back up again. I’m sure that in its sleep it has accumulated many problems once again, but soon it will be back up and running.
May 5, 2021
Why, How and What
I felt incredible joy after finishing my final exam of the term following 12 months of continuous schooling. But less than 72 hours later I was already bored. I needed something to do, so I made the Friedman translator. This was a project that would normally take me weeks due to dealing with school, but I finished it in under two days. I needed a bigger project.
“Hey I’m picking up some furniture from the office, maybe we can get a server too.”
That’s all I needed to hear. 6 hours of backbreaking labour later, we fit a whole office worth of furniture (plus a server) into two trips in the minivan. Now it was time to get to work.
The server is a Dell R710. I did not know what a Dell R710 was at the time of taking the server and I definitely did not know how to set it up. Physically, the server is pretty big and deceptively heavy. It came with 10 gigabit ports and four drive bays. In my mind I was already fawning over the hardware. Too bad I didn’t know what I really should have been looking for…
The setup
First thing I did was search up how to configure an R710. That’s when I found my first problem.
iDRAC.
Every single guide on how to setup the R710 seemed to need iDRAC. iDRAC stands for integrated Dell Remote Access Controller. This nifty port would allow me to access my R710 over a network and perform some expediated updates and put an OS on the system. The iDRAC slot on my R710 was empty. Dang.
Thankfully the R710 used to be a favourite of the sub-reddit /r/homelab. I use past tense because while there is good documentation for using R710s, it is now on /r/homelab’s no-buy list due to issues with age. Ok, fine, whatever, as long as it works I’ll be happy. It’s a learning experience right?
Firmware
I found some tips on how to update the firmware on this mega-post for configuring R710s. The link to the firmware update in that post is dead, but I found another website hosting the file. I then imaged the iso onto a usb and plugged it into the server. The remainder of the night was spent figuring out why the firmware update would crash. It displayed a cryptic error message that lead me down many stackoverflow rabbit holes.
My saviour was a reddit post where a user had similar error messages to my own and their solution was… to image the iso to a disc. Ok I mean why not, I’ll try this tomorrow.
And it totally worked. I had to find an ancient laptop that still had a disc drive, but I imaged the iso to a DVD and voila, the server was updating firmware. The next step was to configure the hard drives.
RAID
When we took the server it came with four hard drives inside the slots. Two were 250 GB drives and two were 160 GB drives. Alongside these, we also took two additional 250 GB drives. The plan was to swap out the 160 GB drives with the extra 250 GB drives to have ~1TB of storage.
I swapped both drives out and booted up the server. I went to configure the storage and… one of the drives would not show up in the menu. It wasn’t missing, it just refused to show up. The light on the front of the drive was also not on, so I assumed it was busted. Ok I’ll just go with three drives for now as a test. I configured the RAID and restarted.
Error messages, error messages everywhere. The drive was missing. The third drive would appear as missing every single time I restarted the server after a RAID configuration.
I tried for a few hours to get the drives to work, but even if I managed to get the RAID to work through the startup, it would instantly fail when I tried to install Ubuntu. The virtual drive would not show up and instead a single 250 GB drive would be the only option.
In the end I just put back the two original 160 GB drives and miraculously that was able to work. I don’t know why the 250 GB drive would detect and then go missing. It’s a mystery to me, but I didn’t care. Ubuntu was telling me I had a single virtual drive, and from there it was easy street.
What now
I don’t know what I’m going to run on the server but at least it is functioning. Maybe I’ll start a Jellyfin server or something. But that’s for another time.
May 1, 2021
Who is Elliotte Friedman?
This is Elliotte Friedman.
This tweet has since been deleted, here is a saved screenshot

CAL and MON are not abbreviations. With this translator now you can make an educated guess as to what ELF is trying to say.
Mar 12, 2021
Introduction
The first time I had ever used AHK was back in highschool. My friend made a Discord bot called “Starmine” that would give out points whenever a user typed !starmine.
It was a fun incremental/idle game that we all played, and while you could wait for the passive point generation, the fastest way to get points was to type !starmine.
The game got really competitive and as we went into the summer months and I needed a way to edge out the competition.
Enter AHK.
A few minutes of searching yielded this language that was easy to use for a programming beginner (me).
Back in 2017, the wiki for AHK was a little lacking in detail but I was able to piece together a simple script, with some help from reddit, which automated the Starmine game. Success!
Elite: AFK
Fast forward to Christmas 2020, more than three years since I last touched AHK. My friend introduced me to a game called Elite: Dangerous, a mind numbing MMO that I have developed a love-hate relationship with in my three months of experience.
Within this game there are several unfun gameplay loops that you need to master in order to progress to the more fun portions of the game. One of these loops is gathering engineering materials.
Smart players figured out the most efficient way to gather each type of material and compiled it into a spreadsheet.
There within lies the dreaded Jameson’s Crashed Python. This method of collecting encoded data requires the player to point and click three beacons around the player, and then log out and log back in to reset the beacons.
This is not gameplay. I don’t know what this is, but it is definitely not gameplay.
My friend had been playing this game for five years and has done this task hundreds of times. So I dusted off AHK and got to work.
I couldn’t recognize the AHK docs the first time I opened them up. They were so neatly organized, the style was much better and it was apparent that a lot of effort went into making examples.
Planning the script
From the get-go I scoped out some issues I knew would suck.
- How do I pan the camera
- How do I deal with loading screens
Everything else could be accomplished with sequential keypresses.
Panning the camera
AHK has the ability to move a cursor to a specific point on the screen using the MouseMove function. However, this doesn’t work in first person games.

You can’t move the mouse to a point further than the edge of the screen. I needed a way to move the mouse in a direction instead of to a point.
After searching the AHK forums, I stumbled upon a library called LLMouse written by evilC.
https://www.autohotkey.com/boards/viewtopic.php?f=19&t=26137
A copy of the library can be found here (fetched December 2020)
The description says, “a library to send low level mouse input”. The library comes with a function LLMouse.Move(x, y, times, rate) which lets us move the mouse some number of units in a direction. It also lets us specify the speed and multiplier for movement.
Perfect, now we can pan the camera by sending relative movement input. Even if the mouse hits the side of the screen, we can continue to move the mouse.
Loading screens
The other parts of the script can be timed or done sequentially. Loading screens are a different issue as the time it takes to get through the loading screen varies from computer to computer.
Looking through the AHK wiki, I found a function called PixelGetColor which allows AHK to obtain the color of a specified pixel.

The first loading screen is between exiting the game and entering the main menu. The program looks for a light blue pixel that should remain the same across all game versions.

The next loading screen is between the main menu and entering the game. The program looks for when the black color of the loading screen stop showing up. I didn’t pick a color that appears on screen after the loading finishes because different ships have varying colors and users can customize the HUD colors.
All done! Sort of…
The code was pretty simple to work out but there are still many things to improve. The script only works for 1980x1080 resolution since the camera movements are hard-coded. I believe that I could calculate the ratio of movement required to move from one beacon to the next, meaning that a user would only have to modify one parameter to adjust the overall camera movement.
The biggest issue is the reliability of the SRV positioning. I have a screenshot in the repo for the script but it is still unreliable.
There was a bug where the exit script button doesn’t work sometimes. I’m not actually sure what the issue with that is, I would love it if someone would let me know.
The repo can be found here.
Notes
This entire project is Matthew’s fault, and will not be maintained while I have ragequitted Elite. Feel free to make it better and fix it up yourself.
Jan 31, 2021
This post is based on Robert DeVore’s “Run a Tor relay” found here:
https://www.robertdevore.com/run-a-tor-relay/
Tor is a service used by thousands of people everyday to access the internet safely and anonymously.
While I have been using Tor for quite some time, it always seemed daunting to help the Tor network by running a relay. Horror stories about getting mail from ISPs relating to the traffic of anonymous users accessing illegal materials masked by your IP.
This is a common misconception that just by running a relay, you run the risk of being targeted by authorities.
Types of Tor relays
Parts of this are abridged from the EFF’s page on Tor relays:
https://www.eff.org/pages/what-tor-relay
There are three different types of Tor relays: middle relays, exit relays, and bridges. Each serve an important purpose, however the risk associated with running each type of relay is different.
When a connection is established using Tor, the first two hops are through middle relays. These middle relays help anonymize the the traffic of the user by passing it along to another relay. However, since these relays are not passing traffic into the clearnet, there is very little risk in running a middle relay. The main risk falls upon someone operating an exit relay.
Exit relays act as the source of the traffic, thus when illegal materials are accessed using Tor, the exit relay appears as the source of the request. Exit relays are much harder to operate due to the work required to maintain the relay as it may attract attention from law enforcement agencies.
Bridges are similar to middle relays, however they are not publicly listed as a relay. These relays are important to circumvent censorship tools in countries that restrict access to Tor.
In this guide I will demonstrate how to setup a middle relay.
Accessing the Github Student Pack
If you are not a student, you can skip this portion, however you will have to pay to setup the server that the relay operates from.
Since 2013, Github has provided students with a Student Developer Pack. This amazing program allows for students that sign up for Github with a student email to receive a plethora of free services and software.
All you need to do is navigate to: https://education.github.com/pack
Follow the instructions on the site to get access to your free pack. After this, you want to find the DigitalOcean free credit offer.
Copy and redeem the code on DigitalOcean’s billing page after creating an account.
Creating the Droplet
Once you’ve created your account DigitalOcean will provide you with some options to jumpstart a project. We will ignore this and instead navigate towards the Create Droplet button. You will be taken to a page that provides you with some options for configuring your Droplet.
Droplets are just what DigitalOcean calls their machines
- Name your Droplet
- Select the $5/month option
- Select the New York #3 Region
- Select Debian 10.0 x64 for the Droplet Image
- Setup a password or SSH key as the login method (I suggest using an SSH key)
- Finish creating the Droplet
At this point you should be all done setting up the Droplet!
Turning the Droplet into a Tor Relay
The next step is to SSH into the Droplet using an SSH client if you are on Windows or just from the command line if you are using Linux. (Or if you are using WSL then you fall under both categories. I will write another blog post about how to get setup with WSL and all the things I love about it some other time.)
Grab the IP address of the Droplet you’ve just created and try to login as root. If you have created a password, then you should be prompted to enter that. If you are using an SSH key then you should see some messages that ask you to enter Y/N, just enter Y to continue.
Now we will install Tor and Arm onto this server by typing in:
apt-get install tor tor-arm
It will prompt you again to confirm by entering Y/N, enter Y to continue.
Next we will need to edit some lines in the torrc file, type in:
nano /etc/tor/torrc
This will open the nano editor which allows you to edit the torrc file. Using arrow keys to scroll up and down in this file until you come across the following lines. These lines will be preceded by the # symbol. You will need to remove the # symbol and edit the lines to match the following input. These lines are not grouped together in the torrc file, however I assure you they are all present.
ORPort 443
Exitpolicy reject *.*
Nickname [Pick a nickname for your relay]
ContactInfo [email at provider dot com]
Log notice file /var/log/tor/notices.log
RelayBandwidthRate 1024 KB
RelayBandwidthBurst 1024 KB
Note that the ContactInfo email needs to be obfuscated a little. This is because this email will be publicly listed. Consider making a burner email specifically for this relay as you will not want spam arriving in your daily inbox.
Save and exit the file by pressing Ctrl X then following the prompt at the bottom of the screen.
Next run the command:
service tor restart
This will save the implement the changes you’ve made to the torrc file.
Finally, run:
sudo -u debian-tor nyx
If there have been no issues up until now, you should see some nice readouts showing you traffic coming into your brand new Tor relay.
For the first few days your relay will receive reduced traffic due to the network taking some time to trust new relays.
As a final step to ensure the relay is running you can check the list of Tor relays and search for your Tor relay’s nickname to see if it has been listed and check it’s trust status.
Closing notes
While this guide is mostly beginner friendly, some elements such as setting up SSH keys might not be. I encourage the reader to search a little bit to find out how to configure these things. Most of my work up until now has shown me that almost everything you want to know is out there, you just have to find it.
Big thank you to Robert DeVore’s original article that I based most of this post on. Most of his steps are still perfectly fine, however there were a few things that I wanted to clarify for users which spawned this post (along with the idea that students can essentially host a relay for free).
If there is anything you didn’t understand about this please feel free to contact me.